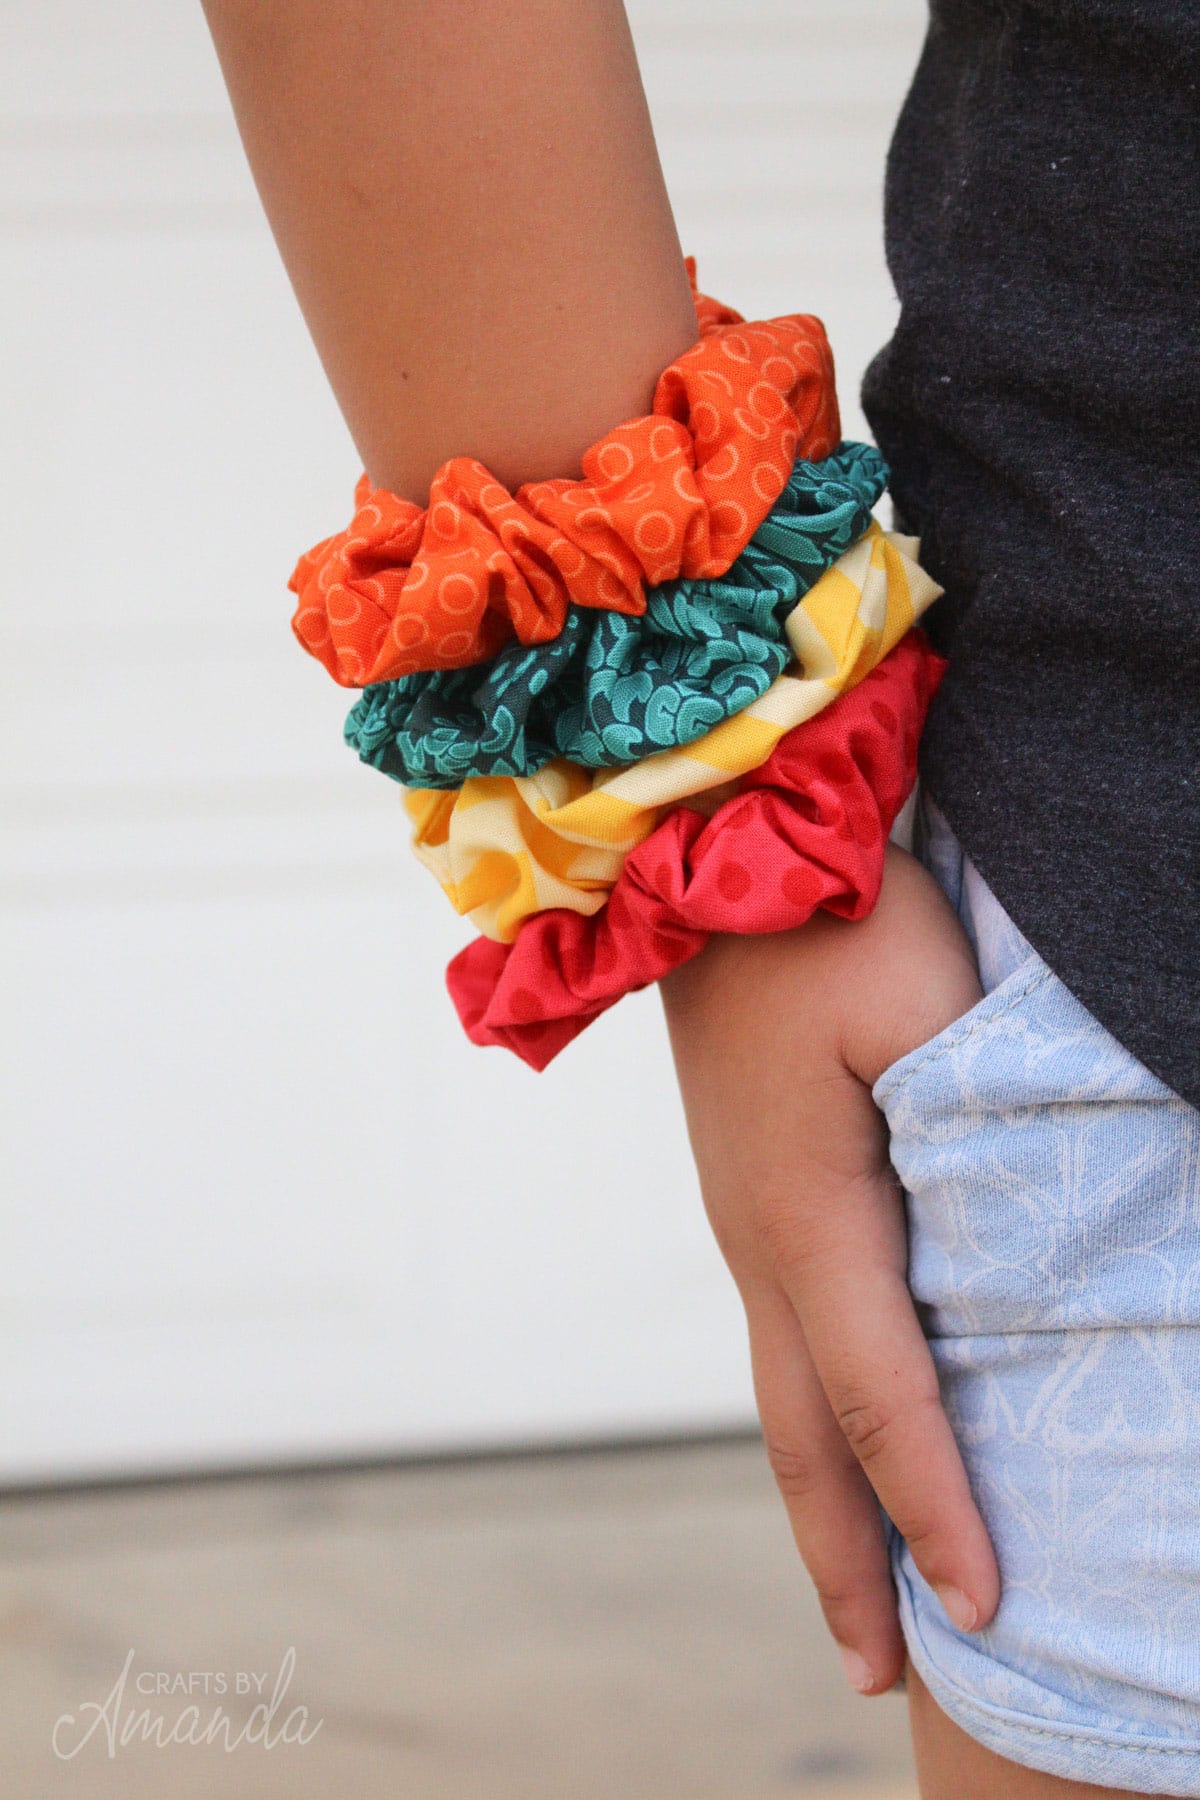
What could be cooler than wearing a colorful scrunchie? Learning how to make one on your own! It’s easier than you might think and only requires basic sewing supplies – making this project the ideal first sewing project!
Why This Project Really Works
These homemade hair ties can be highly addictive to make, as you will quickly become obsessed with sewing them for yourself and all of your friends using different fabrics. Here’s how you can update this 90’s hair accessory and create your own!
Recently I visited a boutique that was selling scrunchies for just $10 each! With basic sewing supplies you can create multiple scrunchies at this same price point, matching each outfit you wear! By making them yourself you can create customized scrunchies to complete any look!
Here are the craft supplies needed for this project; additionally, at the bottom of this post there’s a printable version!
Assemble fabric of your choosing (cut into 9 inch lengths), 1/4-inch wide elastic (cut 9-in lengths), rotary cutter/fabric scissors, sewing ruler, cutting mat, cutting mat holder (for ruler), thread safety pins/dress pins, iron and ironing board and follow these Crafting Tips
Scrunchies we made in this tutorial required 9-inch strips of 1/4-inch wide elastic, so expect 4 per yard. Without access to a sewing machine, scrunchies can also be hand sewn using needle and thread; just be sure to use small stitches when sewing them together.
My preferred cutting tool was a rotary cutter, though you could also use regular fabric scissors. For my project, I chose white thread; you may wish to experiment with different thread colors that work better with your fabric! Also be sure to iron before and during sewing to give your final project an appealing finished look!
This version used cotton fabric; however, you could experiment with other materials like knit, velour or satin fabric as well.